Whey Out Yeast Bread to Bake or Grill
What’s a person to do with whey, that pastel yellow liquid left over from making (yes-you-can!) blissfully delicious fresh ricotta cheese?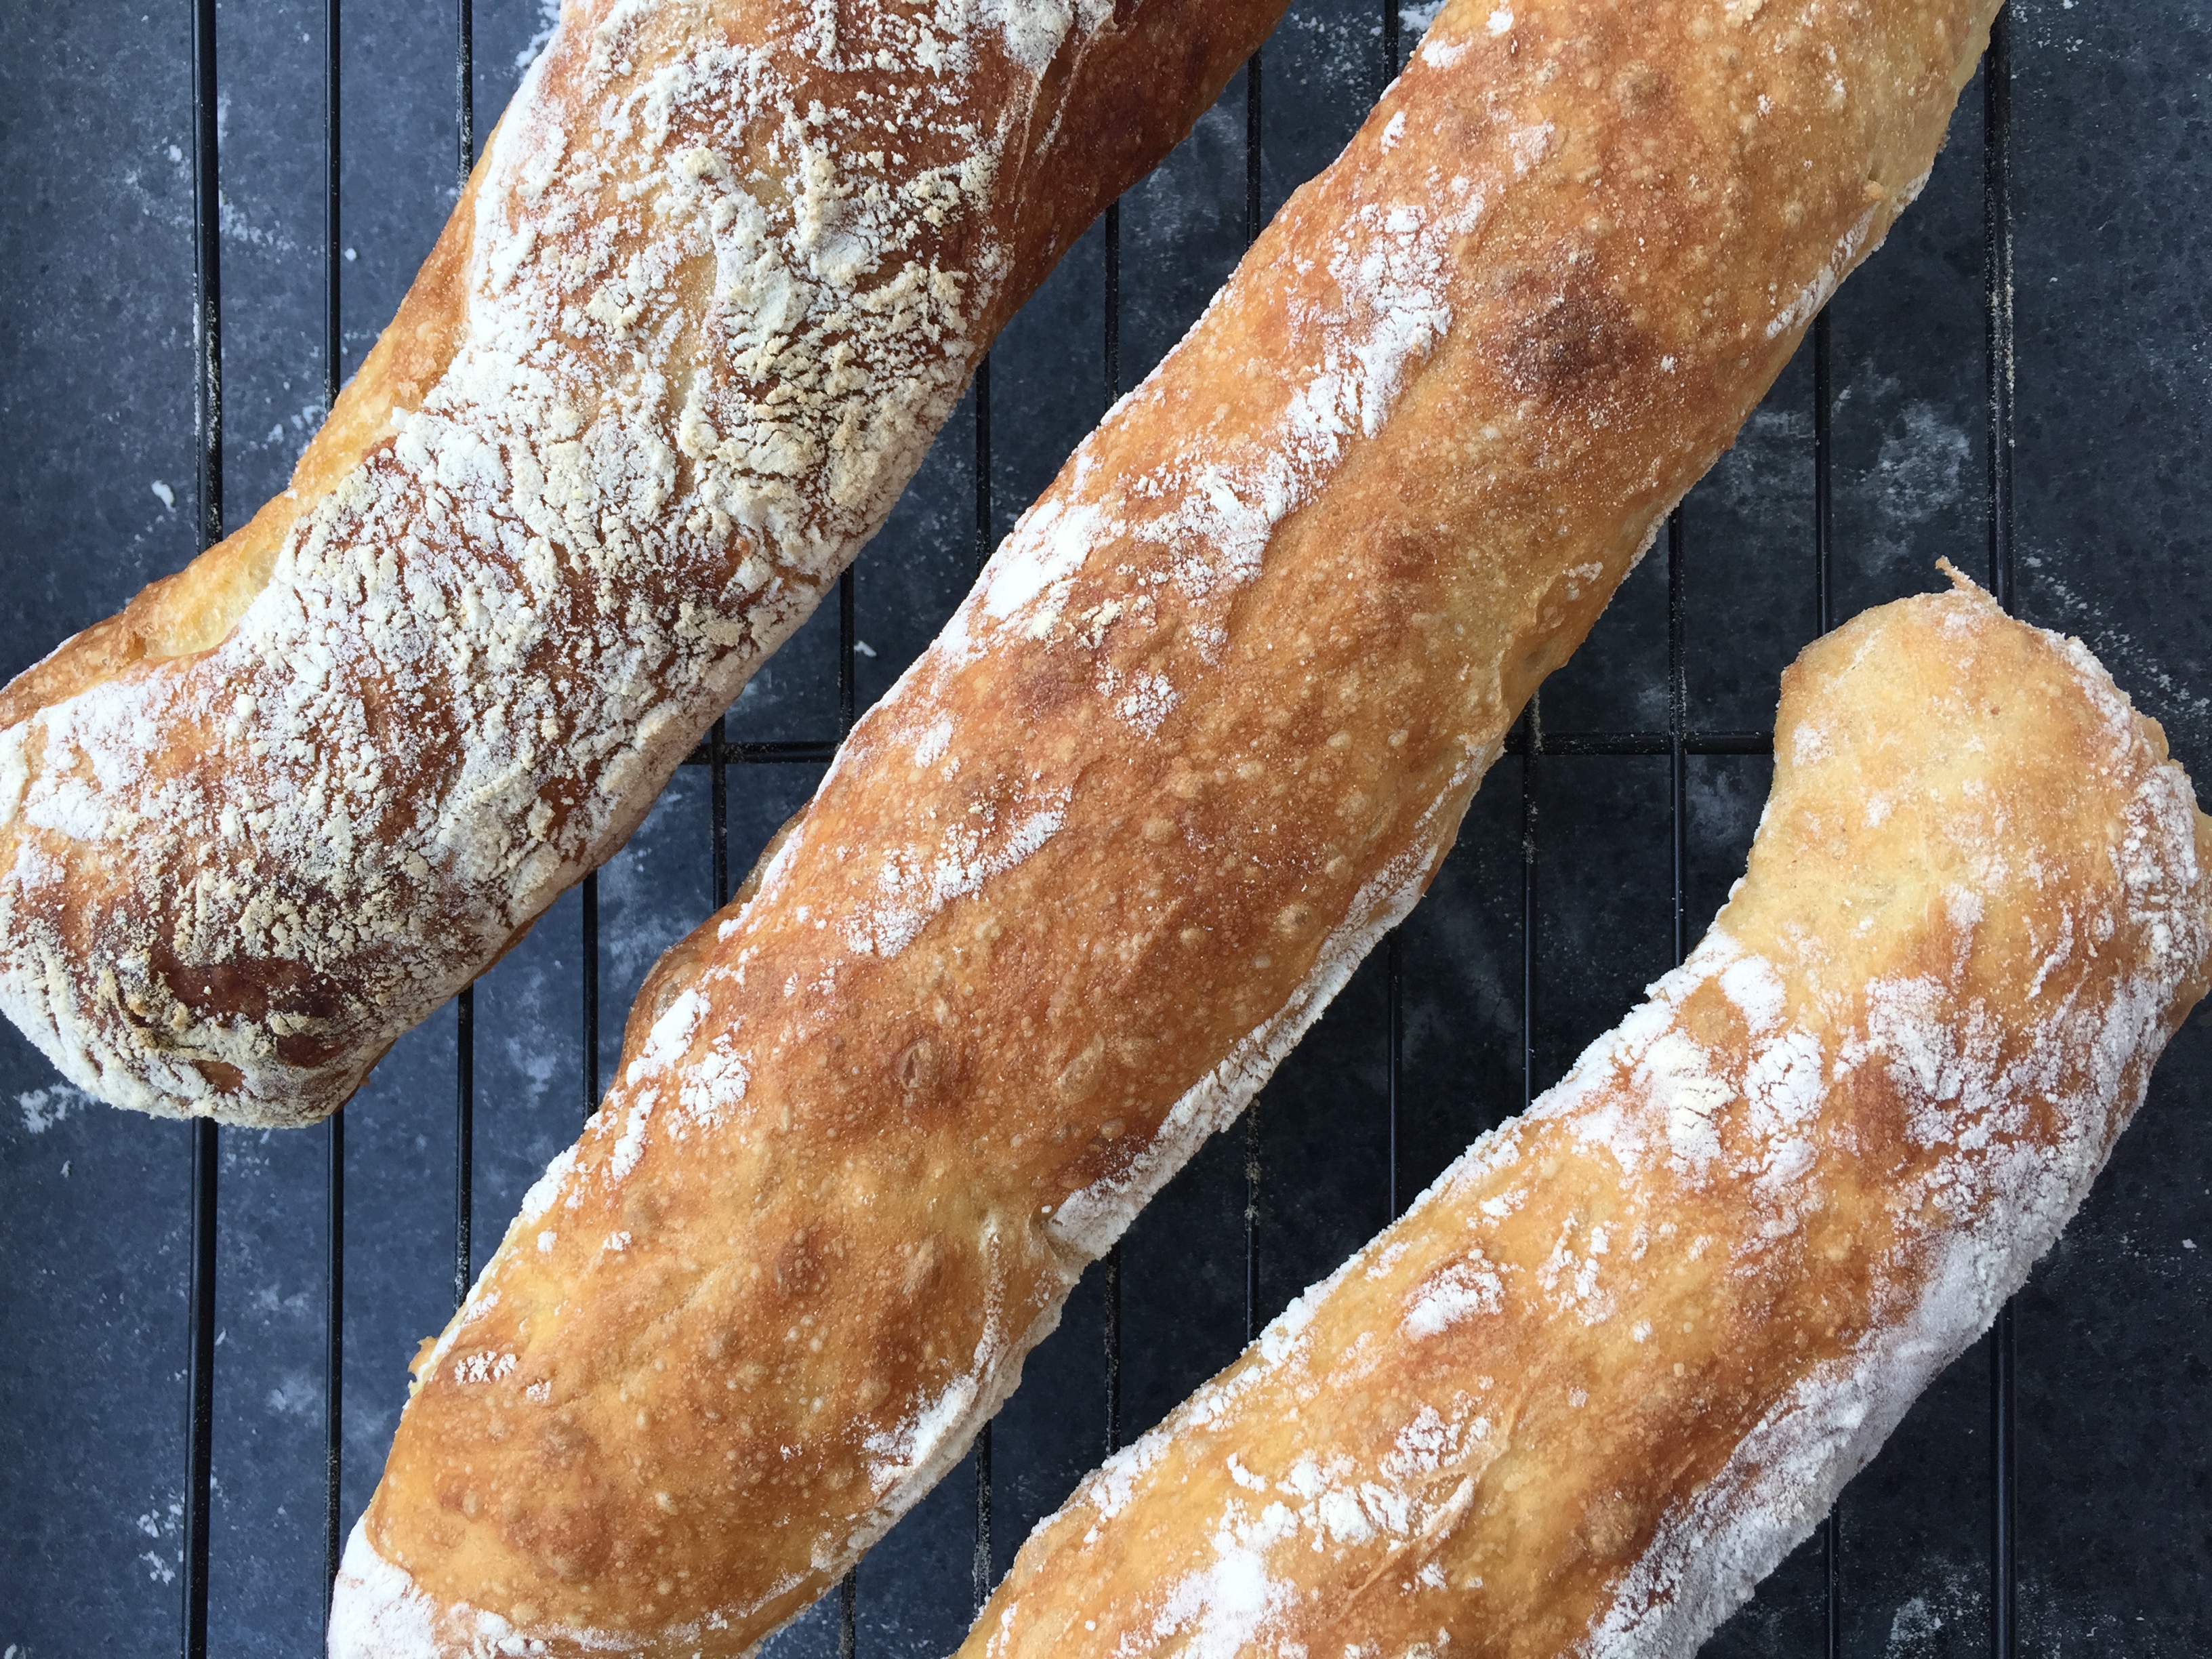
I’ve just discovered the joys (read: ease) of making my own ricotta cheese. (Check out how you can avoid the disposable plastic tub and go glass all the way!) With a couple of oversight exceptions, I did what the directions said to do… except for the end. I just can’t toss the leftover liquid as instructed. There’s so much! And it’s pure – lemon juice plus that miracle milk off-shoot like
what happens when you cut into yogurt (you’ll have to Google the science).
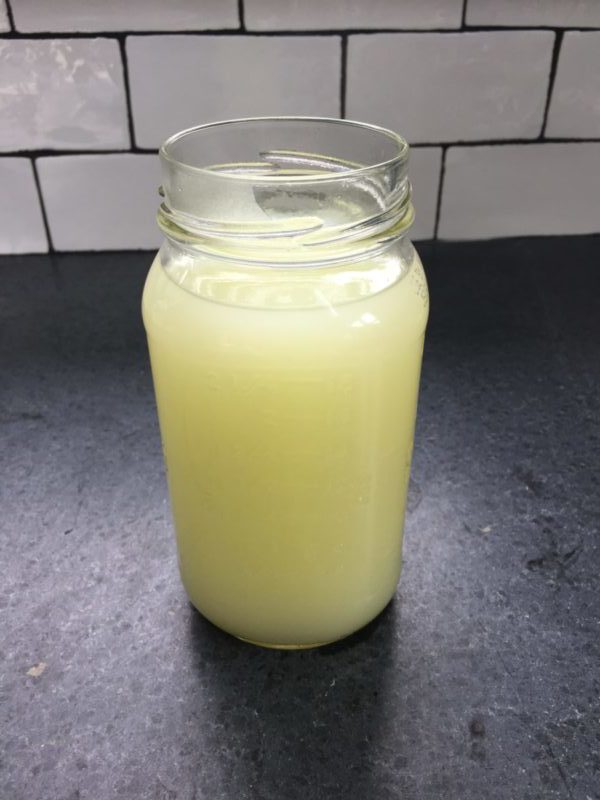
This, friends, is the whey of tuffett-top Little Miss Muffett. I got inspired by one blogger who waxed so ecstatic about drinking whey over ice that I poured a tall glass straightaway. Sadly, the first sip was my last. But don’t let me dissuade. If you can, drink up! Word is, there are a lot of really good nutrients floating around in there.
As for other ideas I ran across – to use whey in muffins, to cook potatoes, rice, what-have-you – they’re all good. But the amount produced by a mere pint of ricotta is daunting. I simply cannot eat that many pancakes…
On the other hand, I’ve been making a ridiculously easy no-knead yeast bread that uses a good bit of water – at least half as much as the flour. And it freezes beautifully. What if I swap out the water for whey? Spoiler alert – it works! I confess I worried a little about the whole warmly-room-temp-for-hours milk product, but it came out beautifully. (Plus, you cook – bake or grill – the bread so super-hot that anything problematic is bound to get cooked right out.
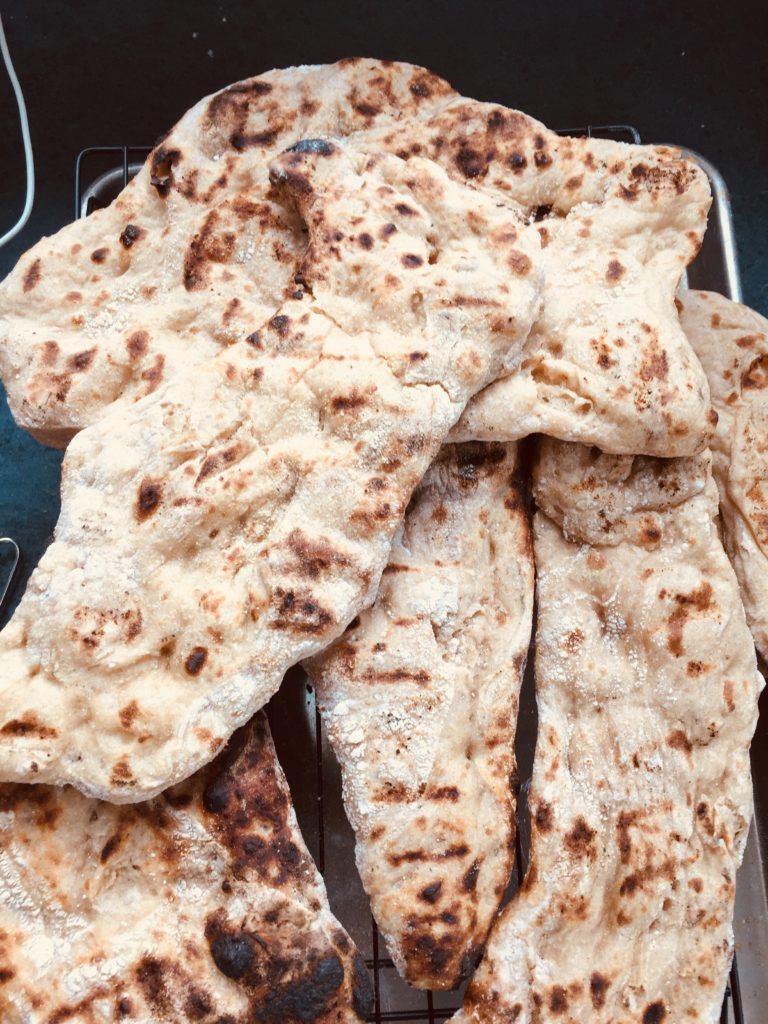
It’s a very forgiving bread. Unlike sophisticated pastries or sauces, nothing needs to be exact – not ingredients, not measurements, not time, not temperature. And it’s one of the most basically delicious things you’ll ever eat. It’s fat-free and good that way. But with butter – yum! Olive oil, pork fat, avocado, mayo and vine-warm tomatoes, cheese, hummus, soup,…stop me.

Whey Out Bread, A Recipe of Sorts
(after making fresh ricotta with about 4 C. milk)
4 C. flour (I used 3 white/bread, 1 whole wheat)
1 T. salt
heaping ¼ t. yeast
2-2 ½ C. warm whey*
*I say “warm” because I was impatient, wanting to use the whey right after making the ricotta. I had poured the hot whey into a big jar while the ricotta drained. It was too hot to hold comfortably (i.e., would probably kill the bread’s yeast). So I waited until the jar didn’t feel burning-hot anymore. FYI, the warmth probably sped the dough’s rise. So if you’re starting with cool whey, just know it might take a couple hours

longer for the dough to double. But I’m getting ahead of myself
In a large mixing bowl (maybe the one you used to drain the ricotta? –bonus, no need to wash!), with a big spoon, stir together the flour, salt, and yeast. Pour in 2 C. or so of the whey, mix just until everything’s wet. The dough should be a bit shaggy – more tacky than you’d want to touch. If you need more whey to get there, pour it on in. Stir. Cover the bowl with a piece of plastic wrap. (You’ll be reusing this.) Let the dough sit in its bowl on the
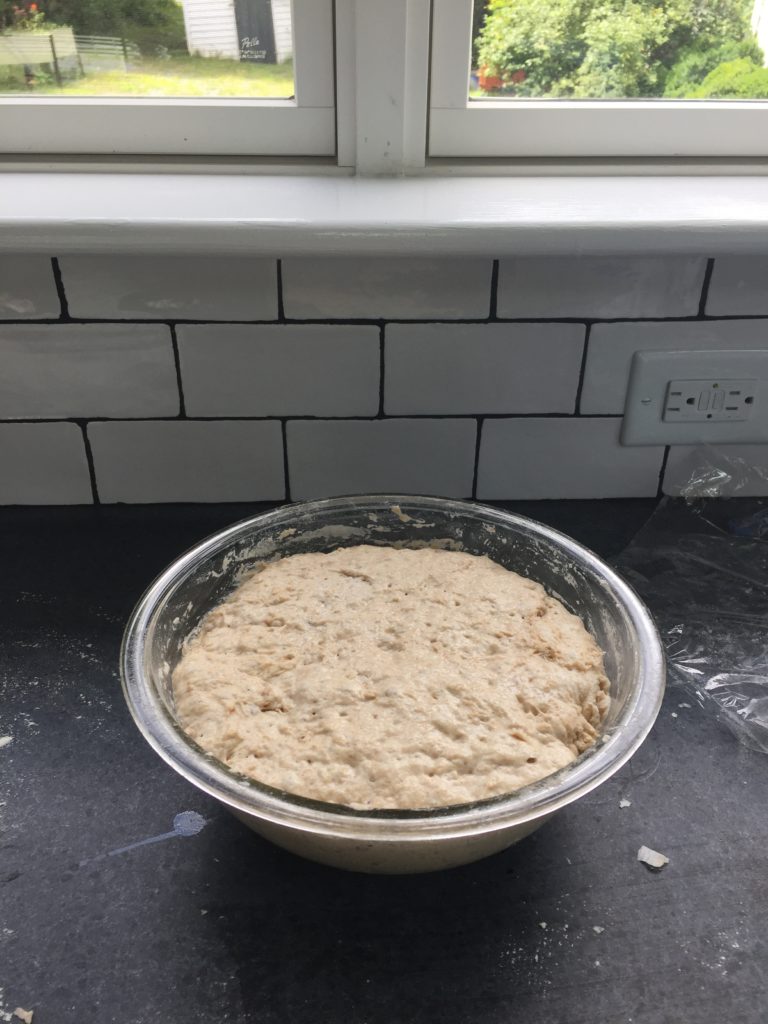
countertop until it’s almost doubled in size. It’ll be bubbly and have flattened out across the top. Go do something else. This’ll take a few hours. Don’t worry. It’sokay to over-shoot by even a couple (few?) hours.
And if you don’t want to cook it then, you can put the bowl in the fridge for up to another 24 hours.
Cover a circle of countertop with a solid dusting of flour. Remember how tacky the bread is? You really can’t overdo the dusting. Go heavy with the flour. With a rubber scraper or the top of an old plastic container, nudge the dough out onto the floured countertop. Be gentle. You want to keep as many bubbles as you can. With your flexible scraper, fold the

dough over on itself – one side, the other side, then roll-flip it upside down on the flour. Again, easy does it. It’s best if you don’t pull, spank, or squish too much. Sprinkle more flour over the top. Lay that same plastic sheet over the dough, dry side toward the dough. Let the pile rest for a good 30 minutes to an hour, until it has relaxed and grown some more again.
To cook the dough, you’ve got options. Whatever you do, you want the cooking situation to be really hot. So, if you’re making this in the summer or in an otherwise already plenty-hot place, make the bread outside over a fire – grill or camp.
Grilling
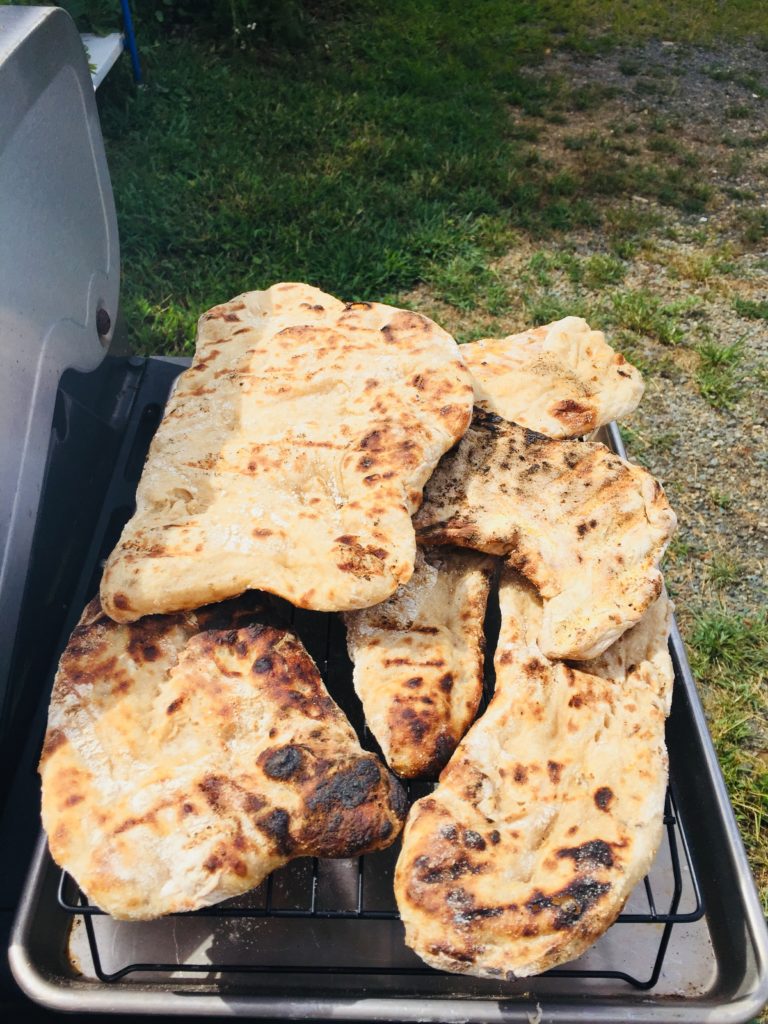
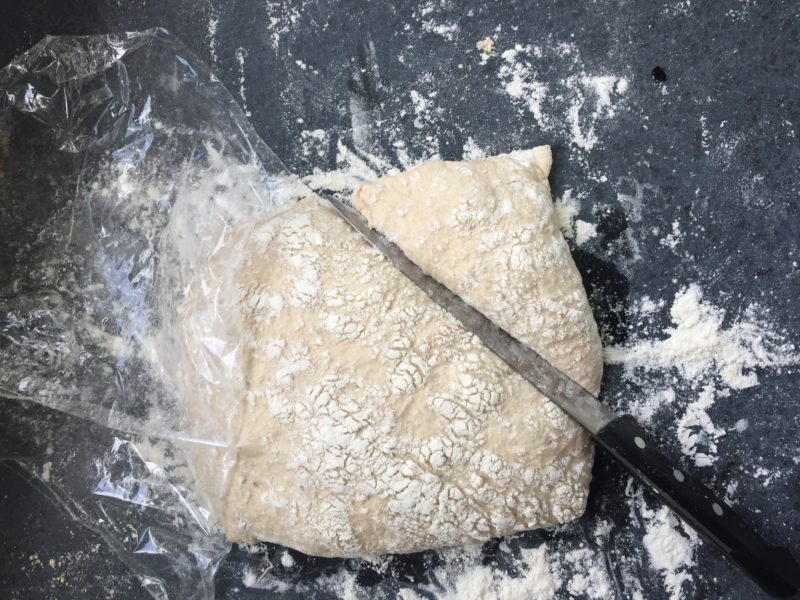
Get the fire good and hot and the grill itself, too. (Don’t worry about exact temperature.) Meanwhile, sprinkle the back of a baking sheet with cornmeal. With a sharp knife, lop off a lump of dough (about 1/6-1/8 of the whole). For the sake of both bread and countertop, don’t saw/slice with the knife, merely press down and nudge the lump away from the whole. Don’t do this in front of anyone worried about the countertop. It’ll be fine – you won’t scratch it – but that’s hard to explain, knife in hand

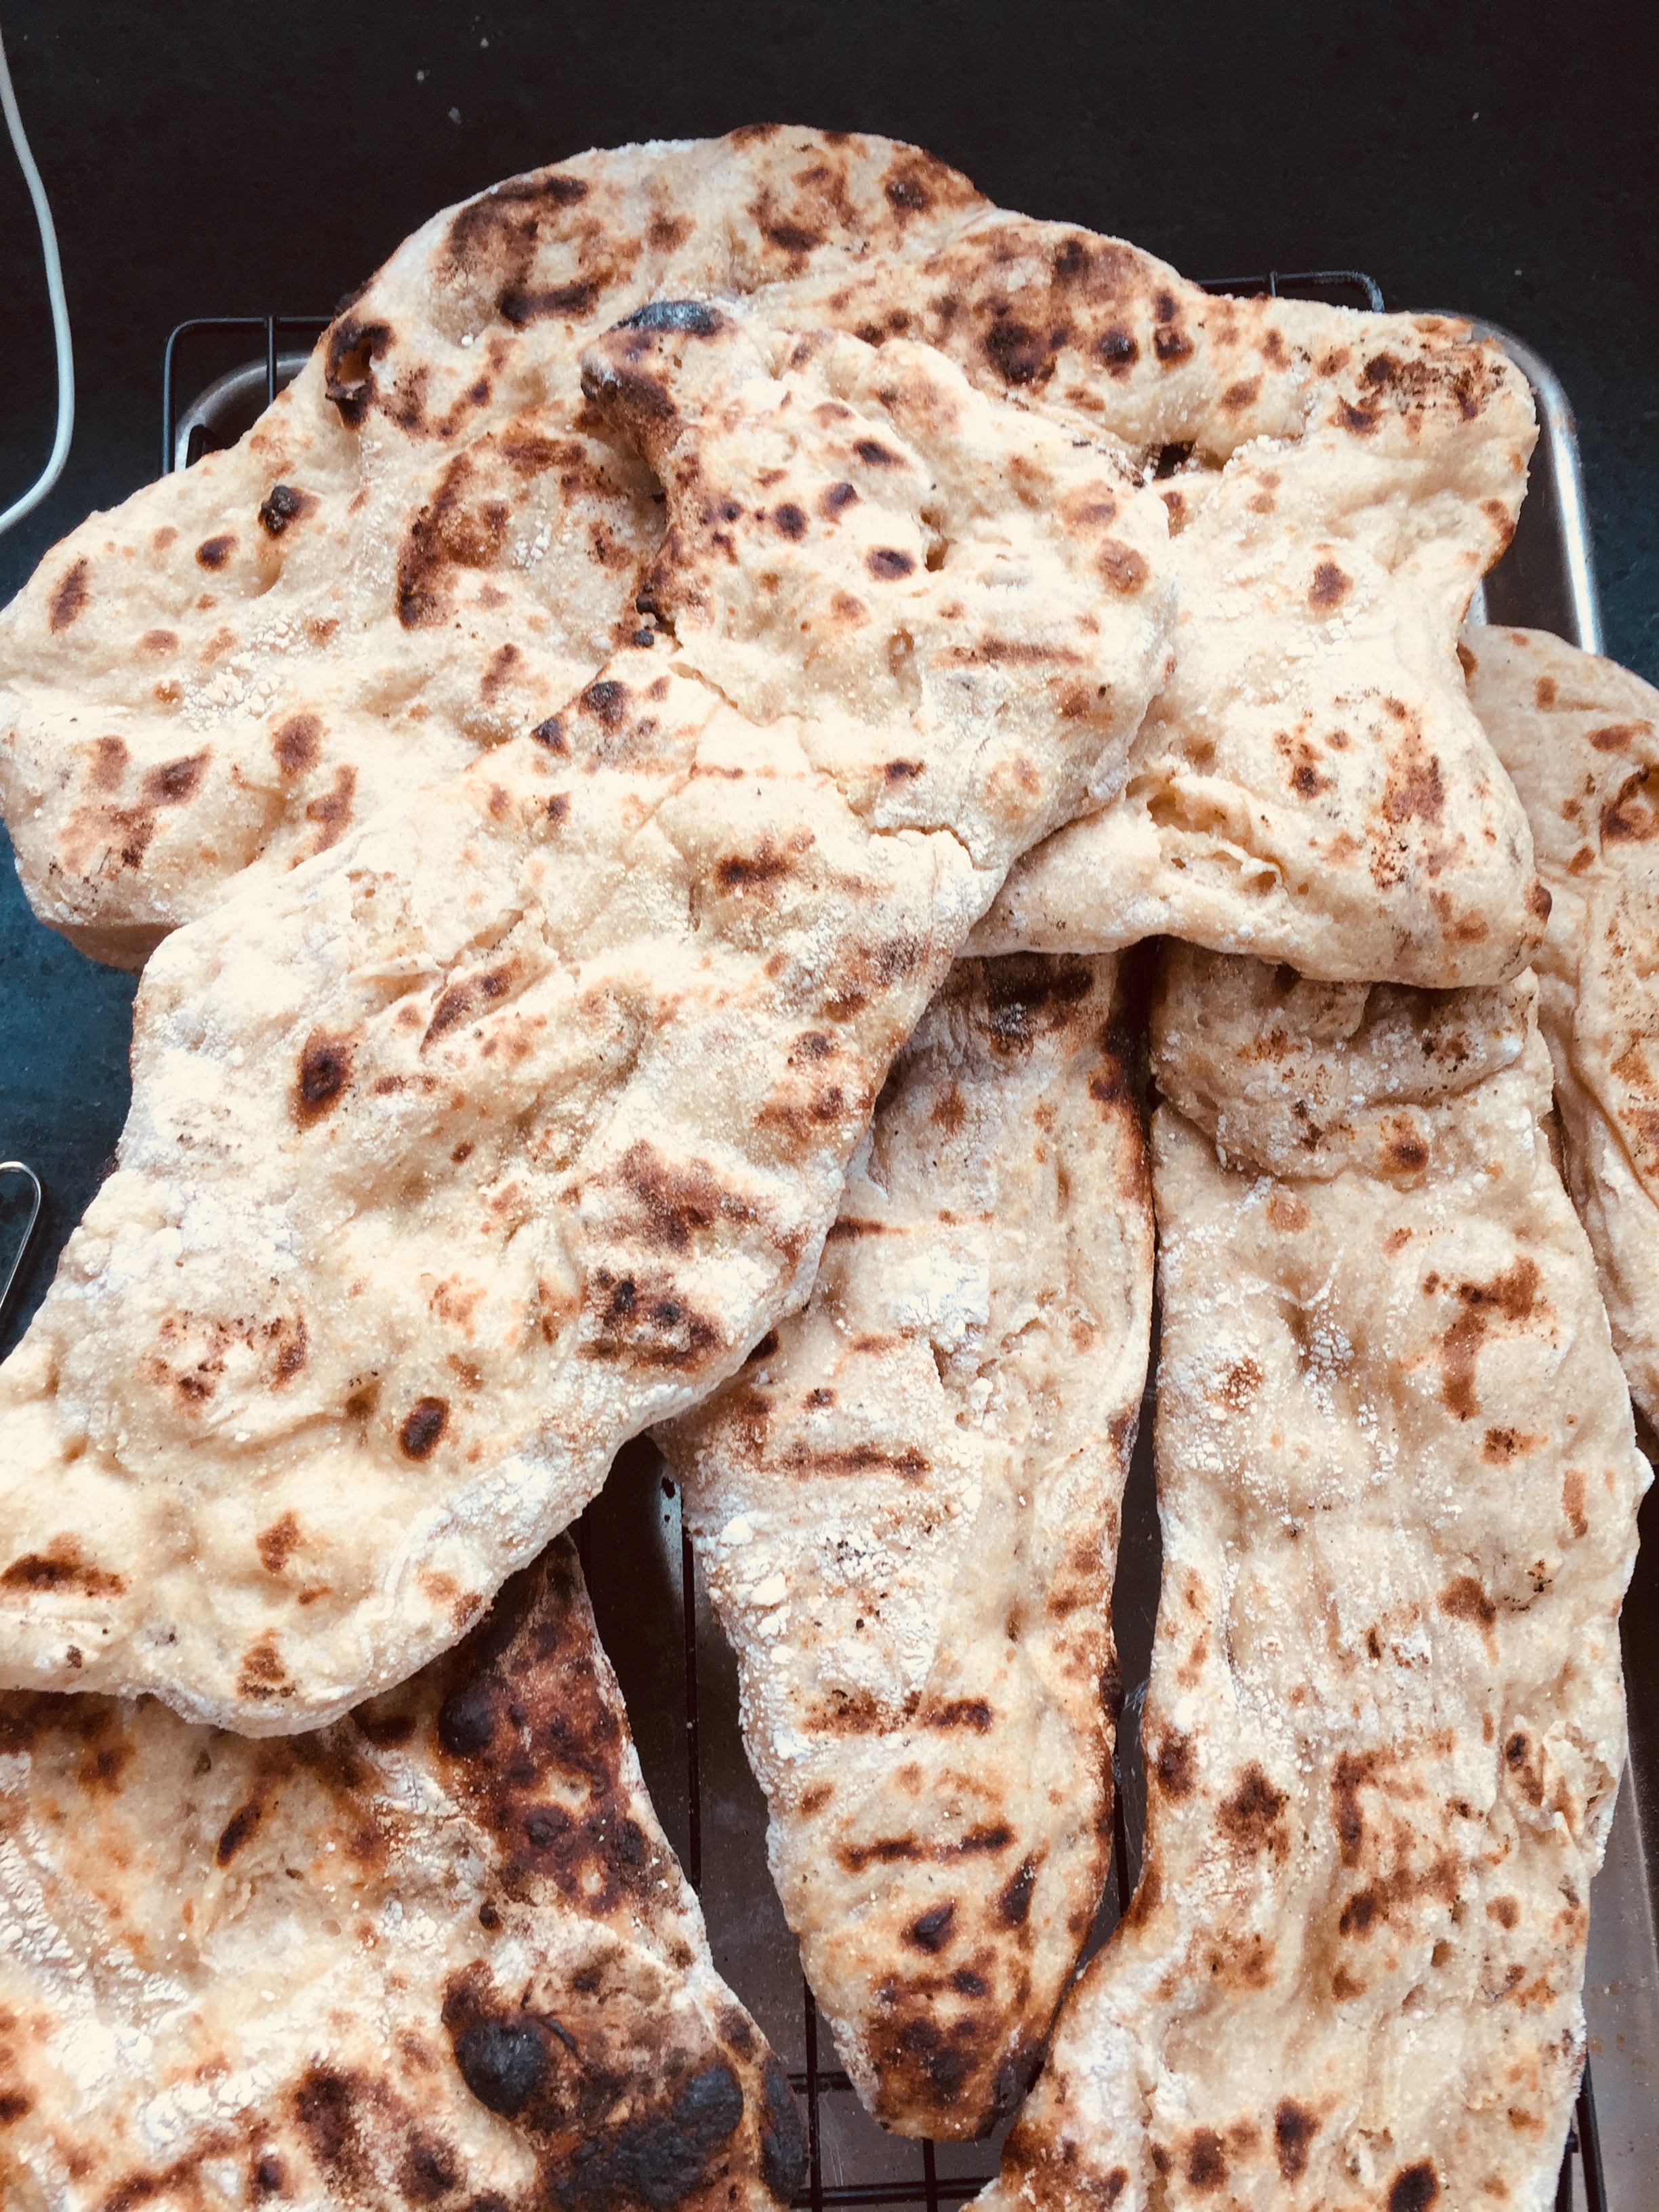
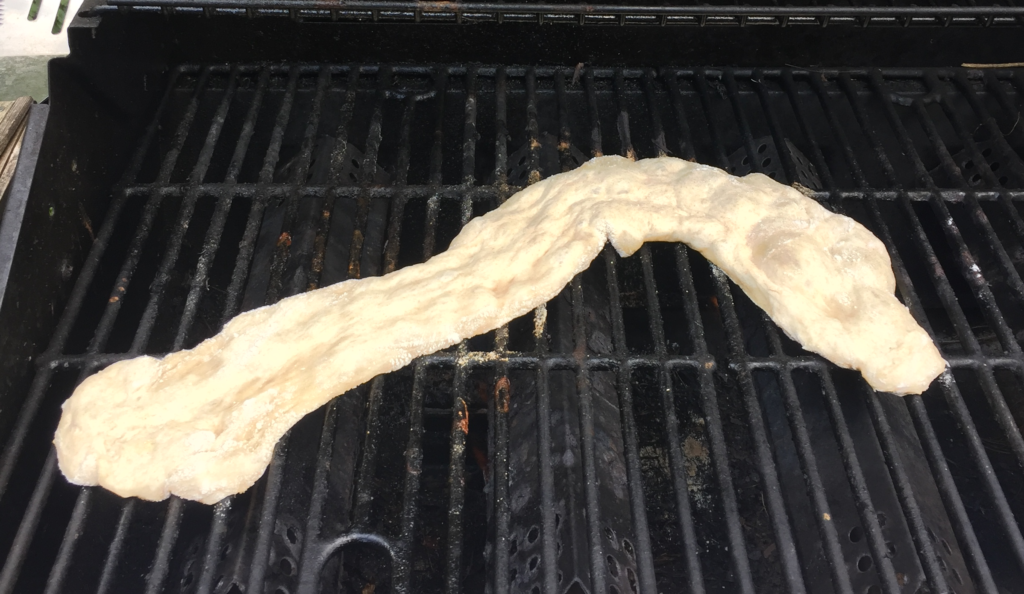
With your hands, gently (those bubbles again!) stretch the dough out thin-ish. Yes, it’ll be uneven. Yes, that’s just fine. Lay it on the sheet. Tote that to your fire, and slide the dough onto the hot grill. By the whey (hah), here’s what happened when I skipped the cornmeal baking sheet step and simply pulled and popped the dough on the fire. Delish, but one wacky, crazy shape.
If the grill has a top, you can close it (to bake while firing). But that’s not necessary. It’ll cook up nicely either way.
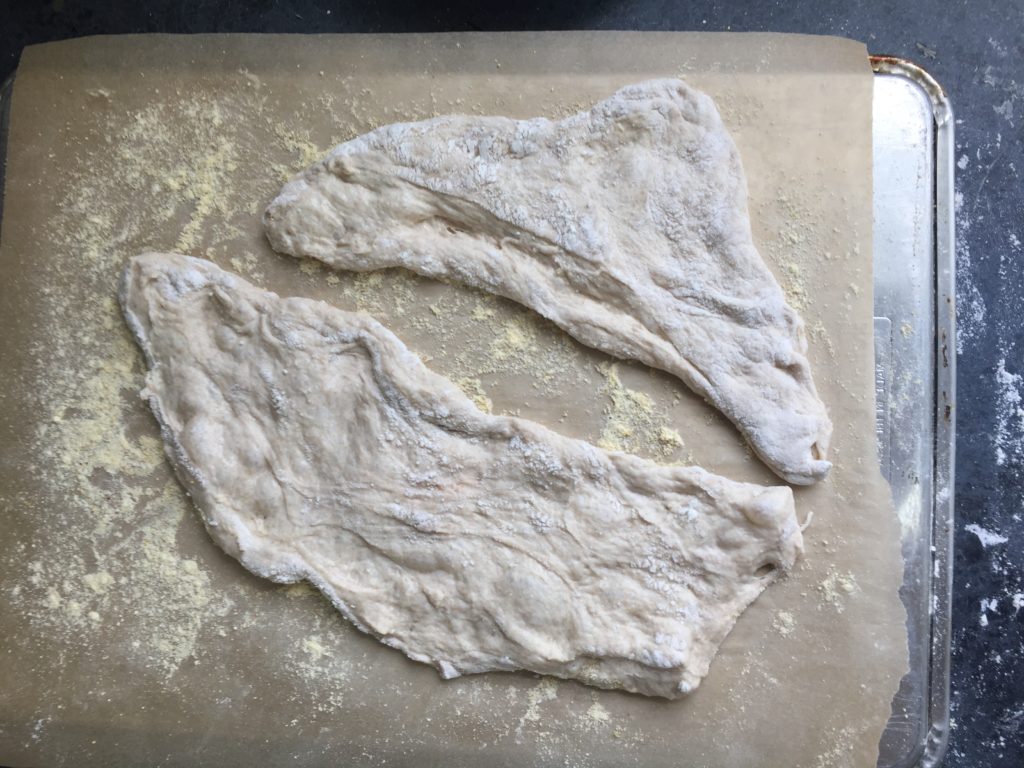

You don’t have to grease anything. I know, it amazes me, too. After a couple, few minutes, have a peek underneath. If it’s looking cooked (i.e. brown), flip with tongs or spatula or paddle, whatever you’ve got. It’ll probably take even less time on this other side – maybe only a minute. Voila, a flatbread to make anyone swoon.
Baking
When it’s cold outside, and you want some indoor heat, by all means, fire up the oven. Crank that puppy until you worry it might break or something. I go to just shy of 500 degrees. (There’s something about reaching 500 degrees in our 1970’s wall oven that makes me think we could lose the house.)
When baking, I like to make baguette style shapes. Sprinkle baking sheets with cornmeal in the general region of the loaves you’ll lay down. (Two rows per sheet for me.) No greasing necessary. As per the technique above, cut off a piece that’s about ¼ the whole, gently pull to a baguette-y shape and length, and lay that over the strip of cornmeal. Repeat until you’ve got four loaves ready to go. Since our oven’s not even, I bake for 7-10 minutes before switching the pans – top to bottom, bottom to top. Total baking will be between 15 and 20 minutes. Err on longer for a crispier crust. Cool on a rack at least until you can pick it up.
You can freeze any bread you don’t want to eat that day (good luck with that) by wrapping cool loaves or flats in aluminum foil (full-circle recyclable!) tucked into plastic bags (re-use! bread or otherwise). You can thaw before reheating, or simply put unwrapped frozen loaves into a 300-350 oven until they’re hot through and oh-so-crispy on the crust!
I can picture Martha Gellhorn tearing into this rustic bread in some god-forsaken war-torn European hotel. Can you tell I’ve been reading Love and Ruin by Paula McLain? It’s an engrossing historical novel about ground-breaking journalist Martha Gellhorn, who also happened to be Ernest Hemingway’s third wife. Besides all sorts of other provocative thoughts (how’s an independently successful woman to be when she becomes attached to a successful man? e.g.), it’s reminded me of the critical role principled journalism (delivering hard-won facts without interpretation or judgment) plays in giving ordinary folks the information necessary to act responsibly in a democracy.
Meanwhile, how’s the bread? Pretty good, huh? And while you’re reveling in the fact that you’ve generated virtually no waste, plastic or otherwise save that single sheet for reuse!) yet made something super awesomely delicious and with enough to share, here’s an inspiring read about a young woman determined to live (normally!) without making garbage. Tear off another hunk of bread and contemplate how easy and it would be to make hummus for the rest.